Wednesday, June 15, 2011

Wilton Decorating Basics: Lesson 2


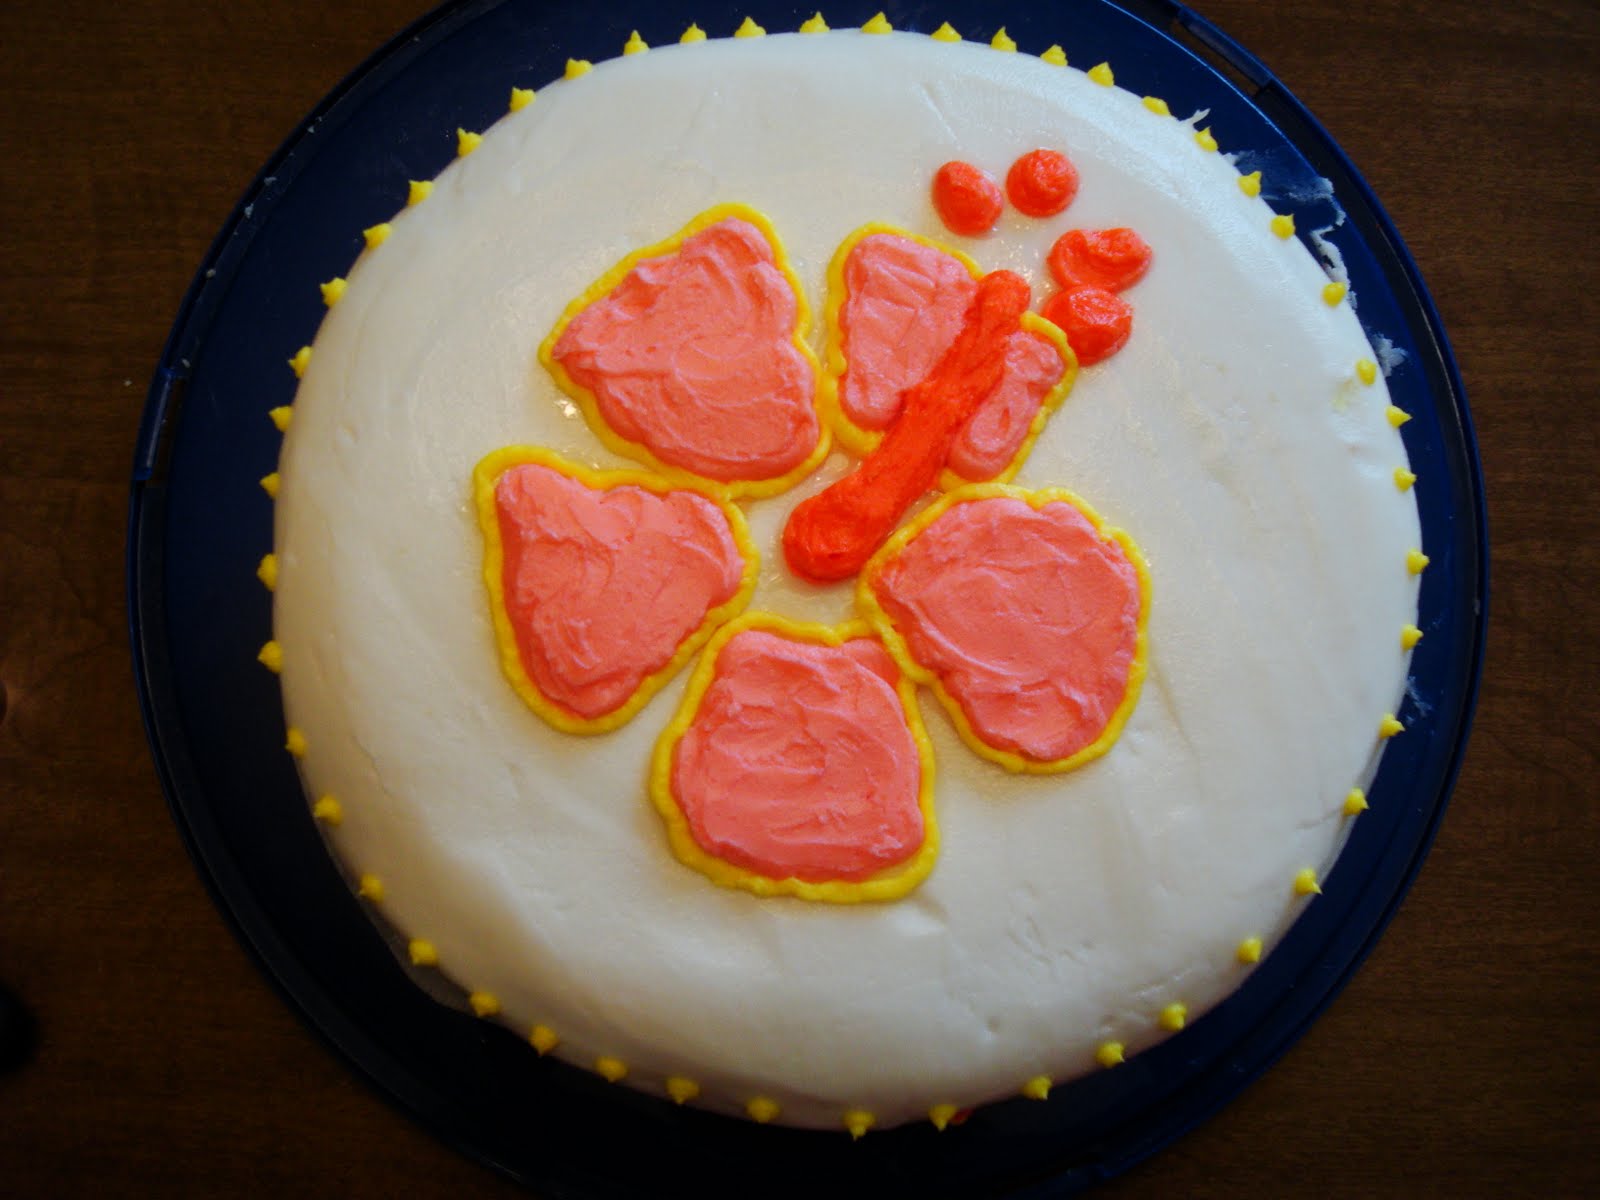
For the second class, we had to bake a cake at home to ice and decorate in class. I was very nervous about making sure my cake was flat on top but I researched some at-home remedies for this because I wasn't ready to invest in Bake-Even Strips yet. I ended up making some of my own after reading this. I still got a bit of a dome but was able to fix it by pressing down on the dome with my hand (and parchment paper).

Icing the cake when rather well. I was very nervous about getting crumbs in my white icing, but the crumb coat technique works very, very well! Do a thin layer of icing first to lock in the crumbs, so when you put on the top coat there wont be any crumbs. We learned to transfer patterns on to the cakes. I chose to do a hibiscus flower. It was actually pretty easy to do, but this was a fairly simple image.


In case you're interested, the butter cream icing is flavored with vanilla and lime, the cake was vanilla, and the middle layer was filled with apricot jam! Yummy!

Can't wait to see what we'll do next! Stay tuned...

Want to see what we did last week? Check out my post about Lesson 1.

Friday, June 10, 2011

Wilton Decorating Basics: Lesson 1


This past Monday I began taking Wilton Method Course 1: Decorating Basics class at my local Michael's store! It's something I've been wanting to try for a while now. I've tried to teach myself how to use a pastry bag many times to no avail so I figured it might be best for me to take a class and learn it the right way. I've only had one class, but think I'm getting more comfortable with it already. Probably the biggest thing I've learned so far is that even just baking the cakes is much more complicated than I thought -- especially if you want it to be a perfect, bakery-style cake!

We learned how to frost a cake and also how to make stars with the pastry bag. These are photos of my practice cookies!

Monday, May 2, 2011

Half Moons


Okay, so do you call these Black and White cookies or Half Moons?

I've called these delicious little guys Half Moons my whole life and I get really annoyed when I see them labeled as Black and White cookies. So, I did a little research. Apparently, they go by a few other names as well, Half and half cookie and drop cake. These cookies are particular popular in Manhattan and Northeastern New Jersey where they are known as Black and White Cookies. It is in New England and Upstate New York that they are commonly known as Half Moons. So, I guess that's why I've always known them as Half Moons. Mystery solved. (Wikipedia)

Anyway, these delightful treats have always been my Italian bakery favorite. I'm usually a 100% chocolate girl but there is just something about the cakey cookie and the not one, but two frosting flavors. There is a recipe mini versions Martha Stewart's cookie book and it's also online here. I was thrilled to try to make them myself and they came out with the perfect consistency. I was very satisfied!

The only tricky part is frosting them because you do it on the underside which isn't smooth. You have to be careful to not get pieces of cookie in the frosting - especially the white. Trying brushing them off a bit before you start frosting.


I'll leave you with this YouTube clip from the Dinner Party episode of Seinfeld in which Jerry discusses the black and white cookie and says "Look to the cookie!" Check it out here.

Monday, April 25, 2011

Hoppy Easter!

Cute sugar cookies decorated for Easter! This time we put a little lime juice in the frosting for an added twist!


I must say the chick is my favorite! So cute!
Must add another photo!


For additional posts about our sugar cookies see:
Cookies Inspired by Barbie!
Purple, Purple, Purple
Sugar Cookie Recipe
Holiday Baking

Wednesday, April 13, 2011

Heath Bar Fudge

Who doesn't love fudge, right? How 'bout adding some Heath Bar? Yum, right? After we discovered that Hershey makes HEATH Toffee Bits (in the supermarket with the chocolate chips), we decided to alter our favorite fudge recipe adding them in.


Ingredients:
12 ounce package + 1 cup of semi-sweet chocolate chips (the Hershey's milk chocolate chips are also good!)
14 ounce can sweetened condensed milk
1 teaspoon vanilla extract
HEATH Toffee Bits (add as much as you like)
Softened butter to grease the pan

1. Grease pan with softened butter. Pour the chocolate chips, condensed milk, and vanilla into a medium saucepan. Put the pan on the stove and turn the heat to low.
2. Stir the chips and milk until they melt together, about 3 minutes. Stir in Toffee bits.
3. Pour out fudge mixture into plan and put it in the fridge and chill until firm. Cut the fudge into pieces to serve.


Do you have any other ideas of how to use HEATH Toffee Bits?

Wednesday, March 23, 2011

Summer Table Center Piece

Remember the eye-shaped glass bowl that we used to make a holiday arrangement? (Check it out here to refresh your memory.) With winter ending, we re-used the bowl to make another dining room table center piece for summer--it has an ocean beach theme! Even though there's still some snow on the ground up here in Maine, it's never too early to start thinking about summer!

Tuesday, March 15, 2011

Nate Berkus: No Money Makeovers

We rarely ever get to catch The Nate Berkus Show, but today we caught the show over breakfast. In his first segment, Nate, an interior decorator, took some old, unused household objects and items of furniture and transformed them into new, useful, and unique pieces for the home. The best part was that he used hardly any additional money! Nate does a lot of projects like this and this same spirit of ingenuity and resourcefulness is what our blog strives to capture.

You can watch this segment of the show here. The three projects mentioned in it are a little bit bigger than the projects we attempt to tackle here, but I really liked this idea of rope shelving. The only things needed are rope and scrap wood. This is definitely one of those ideas to store away for later!

The Nate Berkus Show

He also mentioned that has used this idea to hang a bed - which we think is really neat. Not sure how comfortable it is, though! We think it would look best in a beach home, vacation cottage, or in a room with rustic-looking design elements.

Coastal Living

But it can also look quite exotic-looking!

freshome