Showing posts with label Baking/Cooking. Show all posts

Thursday, November 10, 2011

Chocolate Covered Caramel Apples


Probably about 10 years ago, I was a big fan of the Rosie O'Donnell Show and would watch it everyday after school. For a time, Rosie was obsessed with these Williams Sonoma Apples which were caramel covered apples covered in chocolate and then sprinkled with chopped almonds. Yum! On one of the shows, she showed the views how to make them, and soon after my family and I tried out the recipe ourselves. For some reason, I was moved to try it again.

They are fairly simple to make since you only need a few ingredients: apples (large ones preferably),  caramels (like Milk Maid), chocolate chips or melts, and chopped almonds.

Notes: - I suggest opting to melt the caramels and chocolate in the microwave so you can have more control. - If the apples are cold, the caramel hardens up fast (which is both good and bad; you just have to work faster). -Wait until the caramel is hardened to cover it with chocolate. - When you're finished, I recommend not putting these in the refrigerator because the caramel gets too hard and it's difficult to cut and chew it.

Here's how they came out:


Wednesday, November 2, 2011

Apple Picking 2011

This year, like last year, we attended the Shaker Hill Apple Festival in Alfred, ME. It's a lovely little event with a craft fair, yard sale, bake sale, and other activities. We also went apple picking at the near by Notre Dame Orchards (Giles Family Farm). We've been going to this orchard for years!

Here are some scenic photos of the orchard:


And, here's what we came home with:


I'm not a big pie fan, but I had lots of fun plans for the apples. It's been a personal dream of mine to make my own apple sauce and I did it quite easily with my beloved Crock-Pot. It turned out delicious. Around here, our favorite breakfast (and sometimes dinner!) is a baked apple pancake, so we definitely made a few of those! I also made chocolate covered caramel apples which I'll be blogging about soon - stay tuned!

Monday, October 31, 2011

Happy Halloween!


This year's Halloween desserts were chocolate cupcakes and Heath bar fudge! I wanted to go a less traditional route in terms of colors for the cupcake icing. I absolutely love purple and black together as Halloween colors, but we ended up with purple and grey which I think looks pretty cool!


Last year, I bought a Wilton cupcake kit on clearance after Halloween and was very excited to use it this year, however I only used the cupcake wraps this time. I think the wraps go very nicely with the choice of icing colors.


I've been obsessed with these Wilton Silver Pealized Jimmies for a few years now and finally bought some. I think they look great on the grey. I can't wait to use them more in my future decorating.


And, as I mentioned, we also made fudge using our Heath bar recipe which I blogged about here. Using royal icing, we made little spider webs to go on top which was inspired by this gorgeous Halloween Dessert Table. We were very nervous because we thought they would break when we took them off the wax paper but we were careful and they turned out fine (phew!).


I hope everyone has a delicious Halloween! Don't eat too much candy!

Monday, September 5, 2011

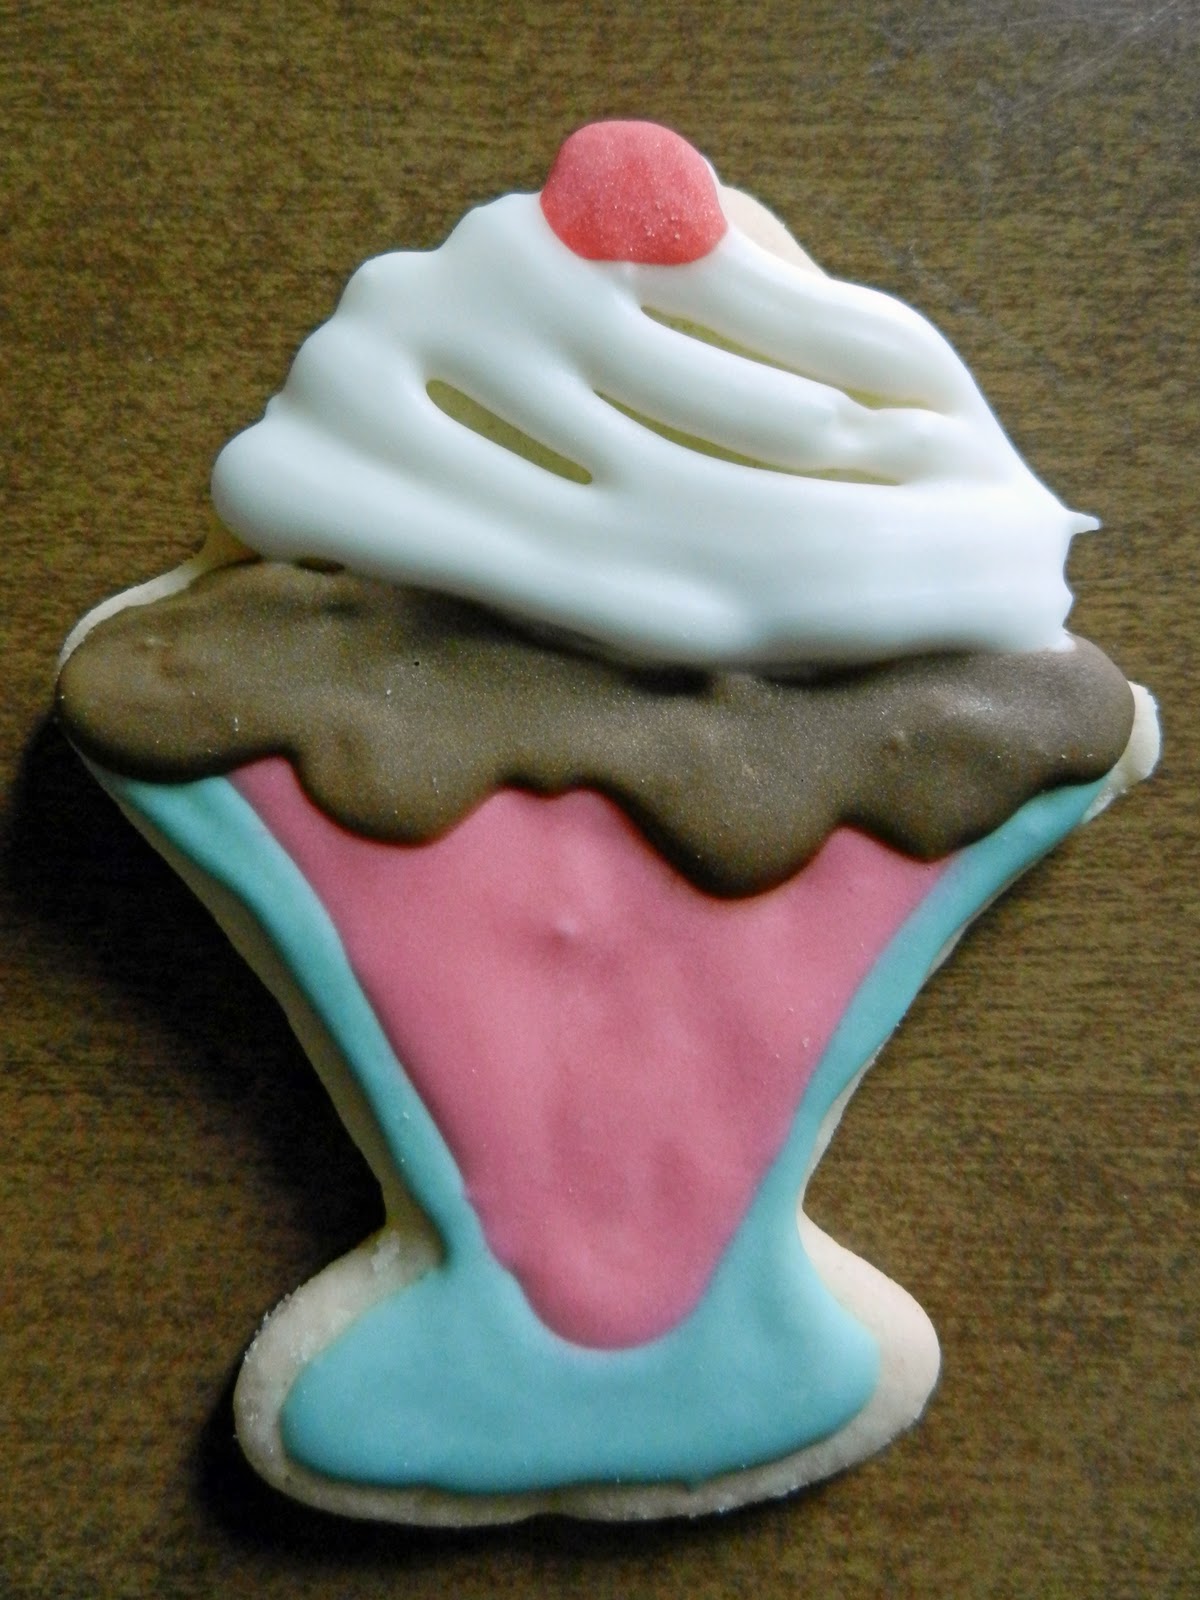
Lemon Cookies in Ice Cream Shapes!


Summer is winding down and as a last attempt to keep the summer spirit alive we made some fun lemon flavored sugar cookies in ice cream shapes. I fell in love with these new cookie cutters from Wilton (well, they were new for the summer). As much as I loved them, I couldn't justify buying them until I spotted them on clearance as A. C. Moore was transition to their fall items. Yay!

This time we added a teaspoon of lemon extract to the dough AND the icing. We wanted a bold lemony taste! Just add less if you are looking for a subtitle lemon taste (or just add it only to either the icing or dough). We didn't get too creative with the design sticking to the suggestion on the cookie cutter package. We just wanted to see if we could pull it off.


For additional posts about our sugar cookies see:
Happy Fourth of July!
Hoppy Easter!
Cookies Inspired by Barbie!
Purple, Purple, Purple
Sugar Cookie Recipe
Holiday Baking

Monday, July 4, 2011

Happy Fourth of July!


After seeing Martha Stewart make delightful fireworks cookies on the Today Show, we were inspired to try it ourselves along with some of our own patriotic designs (the stars). Also, we took this opportunity to test-drive our new mini cookie cutters (we used the star shape here). They were a big hit!

THE STARS:


THE FIREWORKS:

BIG FIREWORKS: Flood the cookie with just a layer of white royal icing. Then, using 2 squeeze bottles (one with blue, one with red), make about 3 circles over the white icing while it is still wet (alternating colors). Then, take a tooth pick and lightly pull out from the center (do that at least 4 times). 

LITTLE FIREWORKS: Again, flood the cookie with white icing and then just make a dot (or filled in circle) of color on top while it's still wet. Use a tooth pick to pull out from the center making a firework design.


Happy Birthday, America!

For additional posts about our sugar cookies see:
Hoppy Easter!
Cookies Inspired by Barbie!
Purple, Purple, Purple
Sugar Cookie Recipe
Holiday Baking

Thursday, June 30, 2011

Wilton Decorating Basics: Lesson 4


And here's my final cake!

This time I did a chocolate cake with chocolate butter cream icing. The roses are almond/vanilla flavored butter cream and the middle layer is filled with raspberry jam.  To be honest, part of the motivation behind trying the chocolate butter cream was because I was kind of terrified to get ugly crumbs in the white icing. I'm happy with my decision - the chocolate butter cream is delicious!

Surprisingly, the "ribbon roses" aren't terribly difficult to do. My biggest issue is that the edges of mine aren't very smooth and I'm not sure why.I actually like the way mine look though. (I'm sure you can tell which one the instructor did for me! Haha!)


And that's the end of my Wilton cake decorating adventure. I really enjoyed my experience and can't wait to try some designs on my own. I'll be sure to post pictures as a do the projects!

To relive the first three lessons, check them out here:
Lesson 1

Lesson 2
Lesson 3

Wednesday, June 22, 2011

Wilton Decorating Basics: Lesson 3


For the third class, we decorated cupcakes! I went with chocolate cupcakes with orange/vanilla flavored butter cream icing.

We learned to use a lot of the tips and how to make many different flowers.

Drop Flower:
The icing was a little too thin here so they look a bit messy.
These came out better. They also look nice as a cake border.

Rosette:
These rosettes look cute covering the top of the cupcake!
They also look cute as the center of a flower.

Pompom Flower:

Shaggy Mum and leaves:


Next week we learn roses for our last lesson. Stay tuned to see my final cake!

Missed my posts about the first two lessons?
Check them out here: Lesson 1 and Lesson 2.

Wednesday, June 15, 2011

Wilton Decorating Basics: Lesson 2


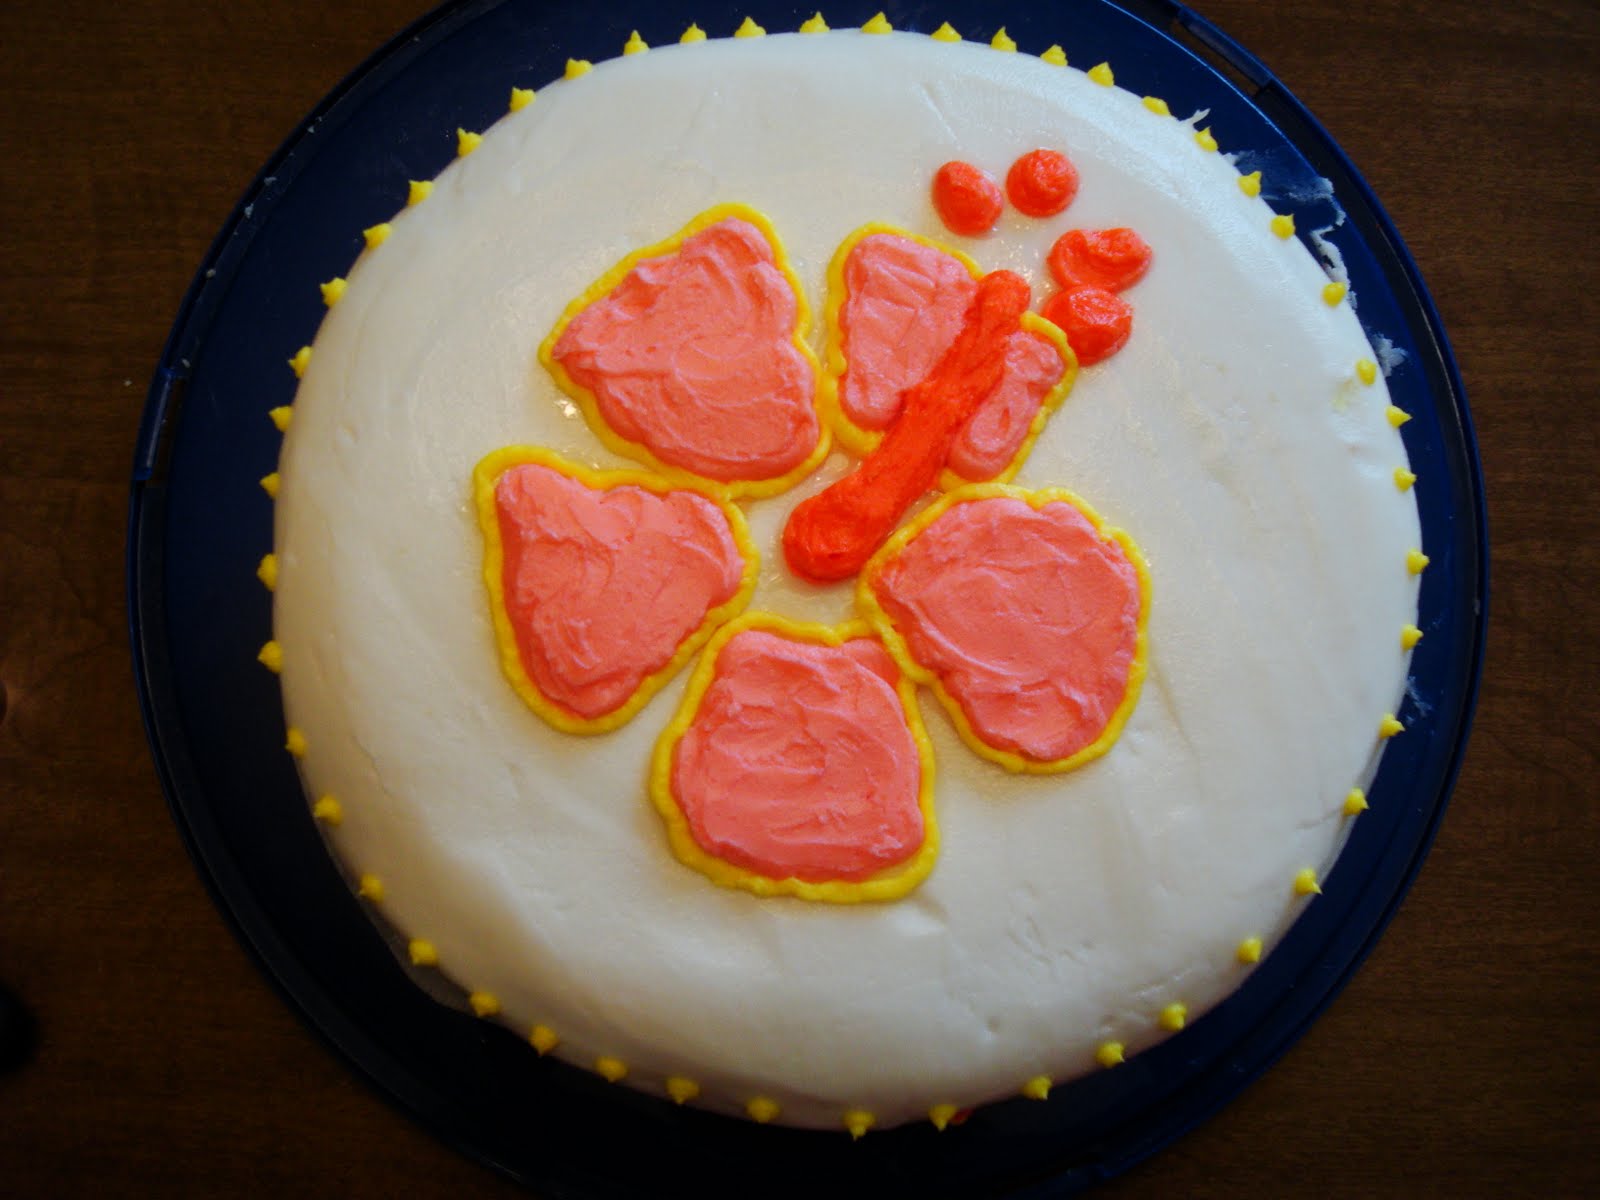
For the second class, we had to bake a cake at home to ice and decorate in class. I was very nervous about making sure my cake was flat on top but I researched some at-home remedies for this because I wasn't ready to invest in Bake-Even Strips yet. I ended up making some of my own after reading this. I still got a bit of a dome but was able to fix it by pressing down on the dome with my hand (and parchment paper).

Icing the cake when rather well. I was very nervous about getting crumbs in my white icing, but the crumb coat technique works very, very well! Do a thin layer of icing first to lock in the crumbs, so when you put on the top coat there wont be any crumbs. We learned to transfer patterns on to the cakes. I chose to do a hibiscus flower. It was actually pretty easy to do, but this was a fairly simple image.


In case you're interested, the butter cream icing is flavored with vanilla and lime, the cake was vanilla, and the middle layer was filled with apricot jam! Yummy!

Can't wait to see what we'll do next! Stay tuned...

Want to see what we did last week? Check out my post about Lesson 1.

Friday, June 10, 2011

Wilton Decorating Basics: Lesson 1


This past Monday I began taking Wilton Method Course 1: Decorating Basics class at my local Michael's store! It's something I've been wanting to try for a while now. I've tried to teach myself how to use a pastry bag many times to no avail so I figured it might be best for me to take a class and learn it the right way. I've only had one class, but think I'm getting more comfortable with it already. Probably the biggest thing I've learned so far is that even just baking the cakes is much more complicated than I thought -- especially if you want it to be a perfect, bakery-style cake!

We learned how to frost a cake and also how to make stars with the pastry bag. These are photos of my practice cookies!

Monday, May 2, 2011

Half Moons


Okay, so do you call these Black and White cookies or Half Moons?

I've called these delicious little guys Half Moons my whole life and I get really annoyed when I see them labeled as Black and White cookies. So, I did a little research. Apparently, they go by a few other names as well, Half and half cookie and drop cake. These cookies are particular popular in Manhattan and Northeastern New Jersey where they are known as Black and White Cookies. It is in New England and Upstate New York that they are commonly known as Half Moons. So, I guess that's why I've always known them as Half Moons. Mystery solved. (Wikipedia)

Anyway, these delightful treats have always been my Italian bakery favorite. I'm usually a 100% chocolate girl but there is just something about the cakey cookie and the not one, but two frosting flavors. There is a recipe mini versions Martha Stewart's cookie book and it's also online here. I was thrilled to try to make them myself and they came out with the perfect consistency. I was very satisfied!

The only tricky part is frosting them because you do it on the underside which isn't smooth. You have to be careful to not get pieces of cookie in the frosting - especially the white. Trying brushing them off a bit before you start frosting.


I'll leave you with this YouTube clip from the Dinner Party episode of Seinfeld in which Jerry discusses the black and white cookie and says "Look to the cookie!" Check it out here.

Monday, April 25, 2011

Hoppy Easter!

Cute sugar cookies decorated for Easter! This time we put a little lime juice in the frosting for an added twist!


I must say the chick is my favorite! So cute!
Must add another photo!


For additional posts about our sugar cookies see:
Cookies Inspired by Barbie!
Purple, Purple, Purple
Sugar Cookie Recipe
Holiday Baking