Wednesday, October 19, 2011

Decorating Pumpkins


Here's another easy Halloween craft. I just love the look of black dot designs on pumpkins for Halloween, so I thought I'd try it myself. Here I used fabric puff paint because it's just so easy to use. (We've also used fabric paint on Christmas ornaments, here.)


The other pumpkin was decorated using white fabric paint and black tempera paint. There is also glitter on it as well (but it's hard to see in the photo).

Tuesday, October 11, 2011

Lack-o-Lantern Bag


I had this nice brown paper bag lying around and wanted to practice my (craft) knife skills. It's simple, but I think the bag makes a nice decoration. If you still wanted to use it as a gift bag just paste colored paper on the inside - black or orange might be nice.

Monday, October 3, 2011

Time to Decorate for Halloween

At the end of the season last year, I bought some super cute Halloween/Fall decorations on clearance! (Nothing like rediscovering things you forgot you bought!) This year, I finally get to enjoy them!

  
This cute Halloween tree was originally $14.99, but I'm pretty sure I paid at most $1 for it. My favorite features of the tree are that it is glittery, but there is a coating over it so the glitter doesn't fall off and get everywhere. I also love that it is two pieces so you can take it apart to store it flat. Although, I do like the paper ornaments that it came with, I'm trying to think up new ornaments that I can make for it. (I bought this at Michael's.)

I fell in love with this delightful pumpkin and couldn't just leave it in the store. It also came in black and white, which I loved too, but I decided to go with the orange one so I could leave it out through Thanksgiving. (I bought this at A.C. Moore.)

Monday, September 5, 2011

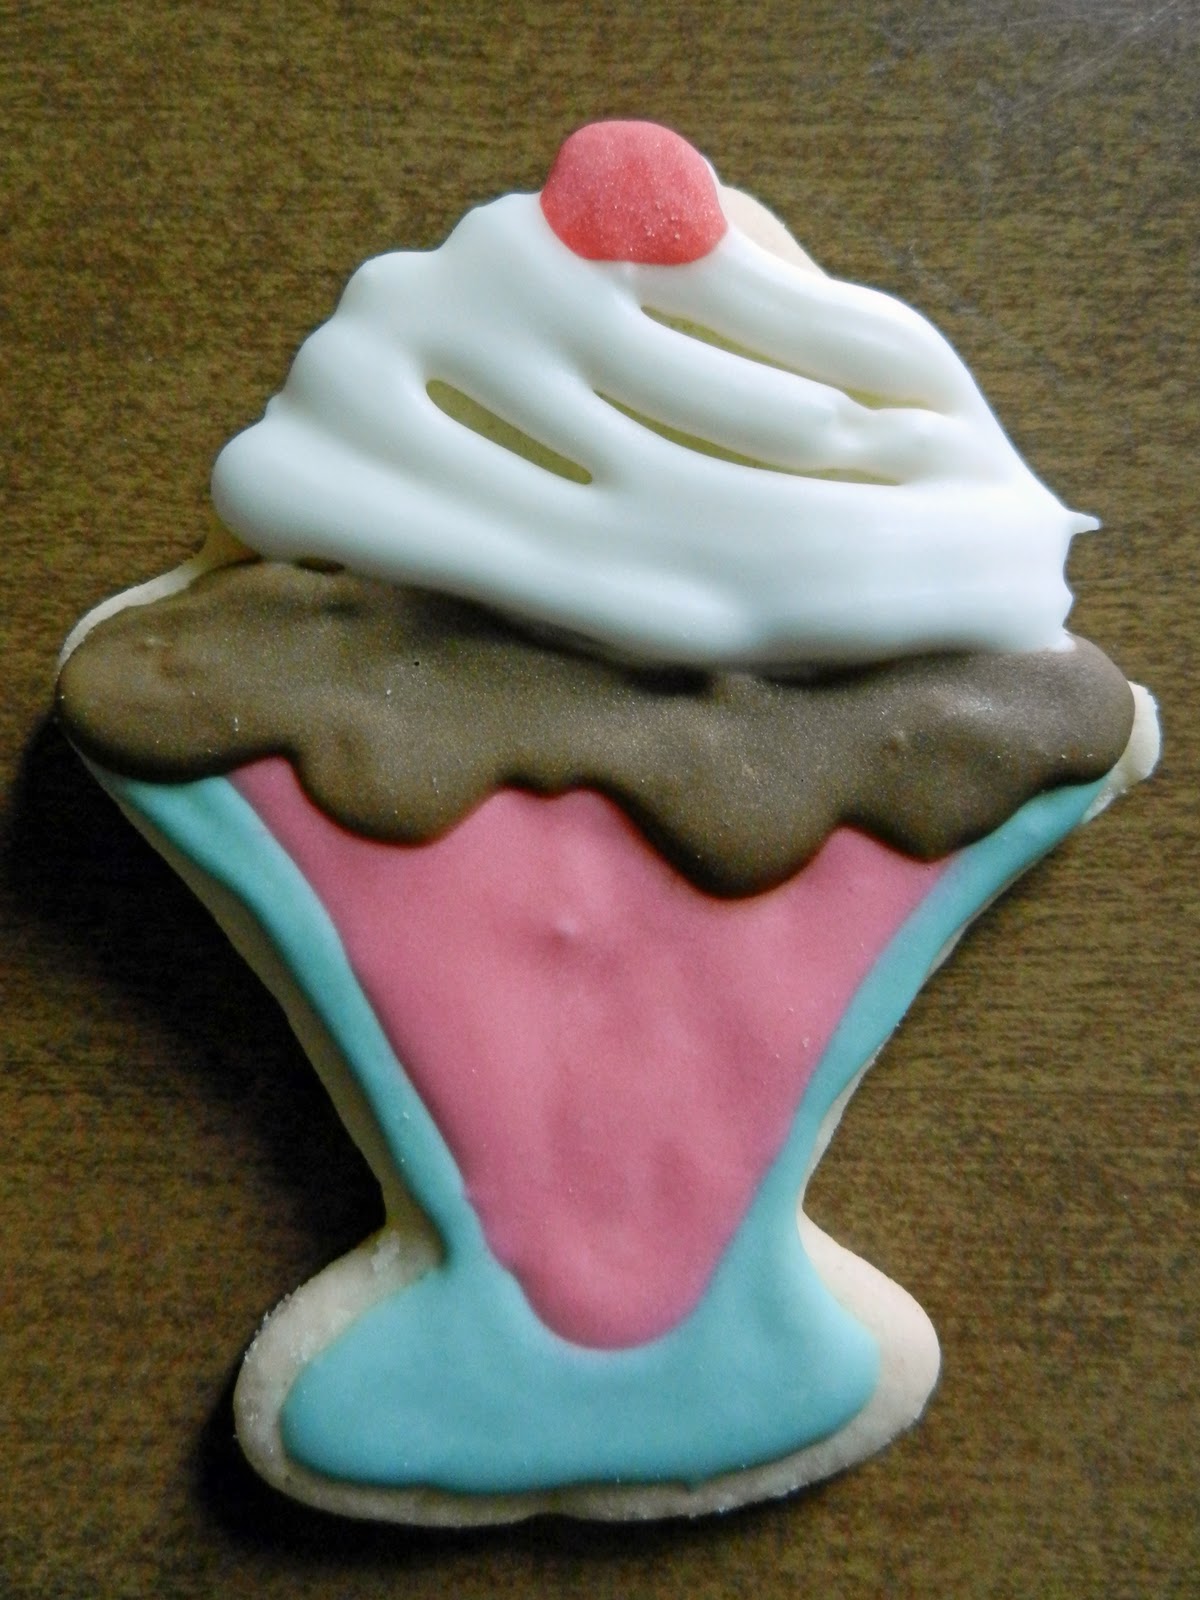
Lemon Cookies in Ice Cream Shapes!


Summer is winding down and as a last attempt to keep the summer spirit alive we made some fun lemon flavored sugar cookies in ice cream shapes. I fell in love with these new cookie cutters from Wilton (well, they were new for the summer). As much as I loved them, I couldn't justify buying them until I spotted them on clearance as A. C. Moore was transition to their fall items. Yay!

This time we added a teaspoon of lemon extract to the dough AND the icing. We wanted a bold lemony taste! Just add less if you are looking for a subtitle lemon taste (or just add it only to either the icing or dough). We didn't get too creative with the design sticking to the suggestion on the cookie cutter package. We just wanted to see if we could pull it off.


For additional posts about our sugar cookies see:
Happy Fourth of July!
Hoppy Easter!
Cookies Inspired by Barbie!
Purple, Purple, Purple
Sugar Cookie Recipe
Holiday Baking

Friday, July 15, 2011

Harry Potter Forever

HarryPotter.com

Today is the release date of the FINAL Harry Potter movie. I've grown up with these films and books, so it's definitely bittersweet to see it all over.

Last fall, my family and I went to a craft fair at L.L. Bean and at one of the tables I spotted hand-made Harry Potter wands. Although I did want to buy one, I thought I would give Ollivander a run for his money (even though I have virtually no woodworking experience).

Materials: a stick (from outside), saw, scraper, sand paper, steel wool (for woodworking), electric sander, and wood stain

I found a perfect stick outside and then cut it off to the appropriate length (I did a little bit of research) and then I scraped off most of the bark. (Inspired by Harry's wand, I decided to leave the bark on the handle.)

After I determined that it would take me forever to sand it down as far as I wanted by hand, I got out the electric sander (which you can see a little of in this photo).

Then, I used the sand paper and steel wool to make it nice and smooth!


To finish it off, I stained it. And, here's the final product:


Any other Harry Potter fans out there? What are you favorite Harry Potter memories from over the years?

Monday, July 4, 2011

Happy Fourth of July!


After seeing Martha Stewart make delightful fireworks cookies on the Today Show, we were inspired to try it ourselves along with some of our own patriotic designs (the stars). Also, we took this opportunity to test-drive our new mini cookie cutters (we used the star shape here). They were a big hit!

THE STARS:


THE FIREWORKS:

BIG FIREWORKS: Flood the cookie with just a layer of white royal icing. Then, using 2 squeeze bottles (one with blue, one with red), make about 3 circles over the white icing while it is still wet (alternating colors). Then, take a tooth pick and lightly pull out from the center (do that at least 4 times). 

LITTLE FIREWORKS: Again, flood the cookie with white icing and then just make a dot (or filled in circle) of color on top while it's still wet. Use a tooth pick to pull out from the center making a firework design.


Happy Birthday, America!

For additional posts about our sugar cookies see:
Hoppy Easter!
Cookies Inspired by Barbie!
Purple, Purple, Purple
Sugar Cookie Recipe
Holiday Baking

Thursday, June 30, 2011

Wilton Decorating Basics: Lesson 4


And here's my final cake!

This time I did a chocolate cake with chocolate butter cream icing. The roses are almond/vanilla flavored butter cream and the middle layer is filled with raspberry jam.  To be honest, part of the motivation behind trying the chocolate butter cream was because I was kind of terrified to get ugly crumbs in the white icing. I'm happy with my decision - the chocolate butter cream is delicious!

Surprisingly, the "ribbon roses" aren't terribly difficult to do. My biggest issue is that the edges of mine aren't very smooth and I'm not sure why.I actually like the way mine look though. (I'm sure you can tell which one the instructor did for me! Haha!)


And that's the end of my Wilton cake decorating adventure. I really enjoyed my experience and can't wait to try some designs on my own. I'll be sure to post pictures as a do the projects!

To relive the first three lessons, check them out here:
Lesson 1

Lesson 2
Lesson 3